The backyard playhouse started as an idea to build an underground bunker in the backyard that would not be visible to the casual observer. I wanted it to have an access hatch of some kind and lead to a room below the back deck, and ideally in the laurel hedge somewhere.
In searching for the perfect spot, I got this idea that I could have an underground bunker and also an above ground structure so that the kids could have a playhouse, and also have access to the secret room inside. Additionally I wanted to have an above ground tunnel to the playhouse leading to the house, possibly into my son Liam's room.
Taking my wife's comment that my idea would be fun as resounding approval of the project, I began clearing a site for the playhouse.
 |
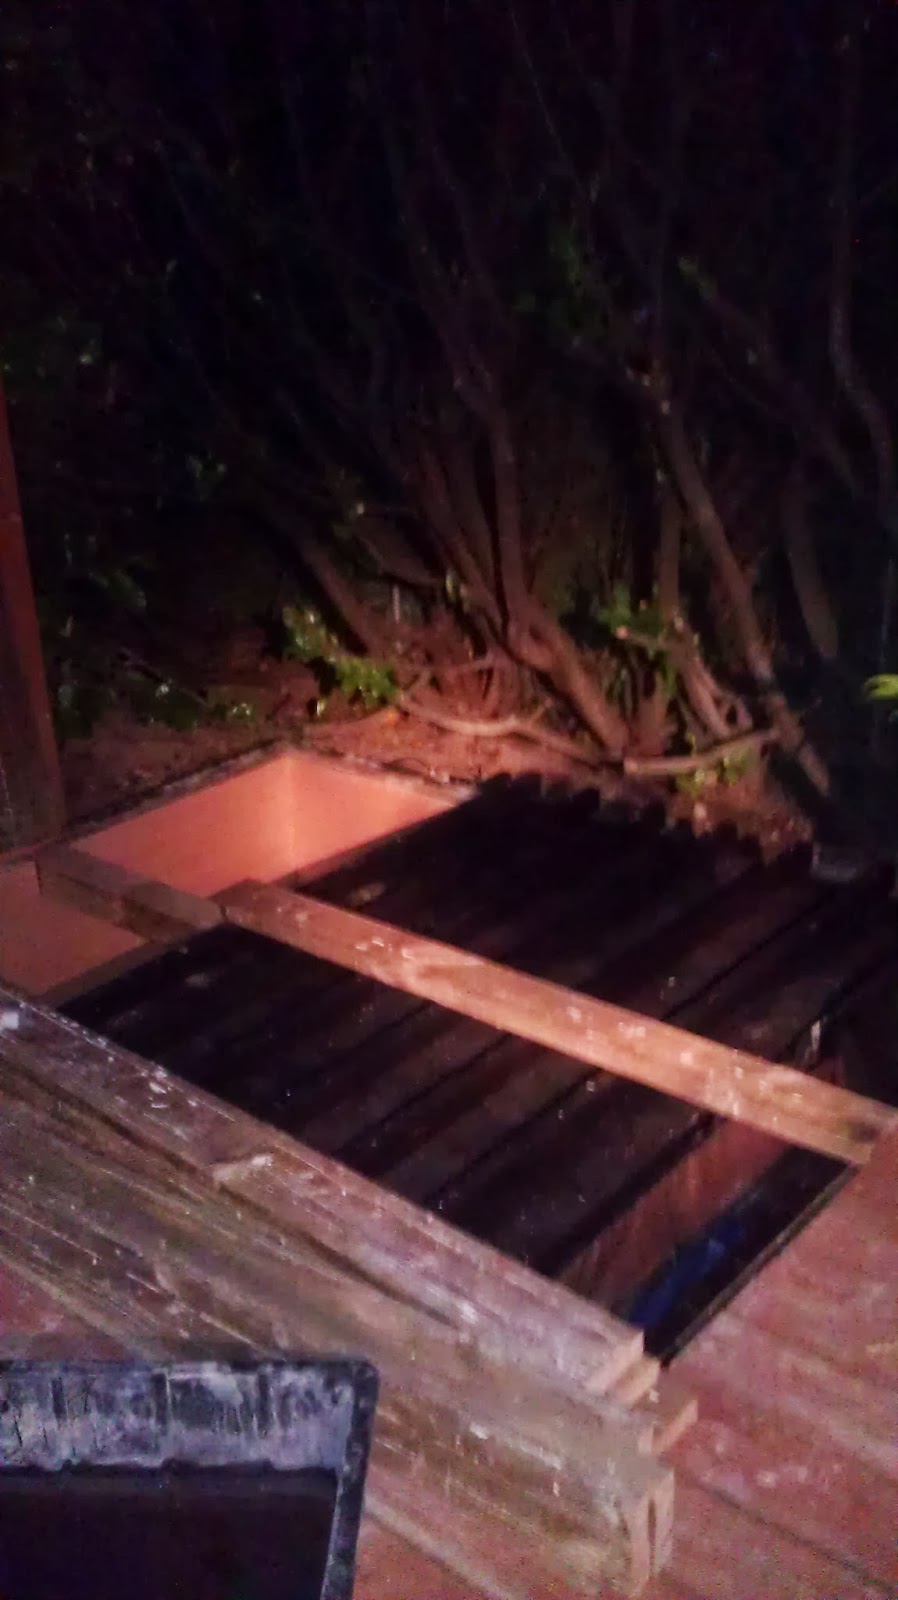
| Deck removed |
 |
| Bench removed |
 |
| Hedge trimmed |
At this point I discovered that I didn't really have my wife's approval for the project because she didn't fully understand the scope of my project. This is partly because I didn't fully understand the scope of my project either, and thus could only explain it in abstract ideas.
Nonetheless, I was not to be deterred! The Amos School of Construction does not need a scope! I started to go to town creating the underground portion of the playhouse.
 |
| Just keep digging, just keep digging... |
 |
| No gold yet. |
I began to dig, first moving the dirt with simple buckets, and later realizing that man invented the wheel for a reason. I appropriated the use of the neighbors wheelbarrow. It turns out that the soil isn't exactly soft under my deck. It consists of the following, in this order: Top soil similar to what you would use to pot a plant, about 1 inch. Gravel, similar to a driveway, and just as compact, about 4 inches. Compacted rocks with some dirt, about 8 inches. Mt. St. Helens ash, very densely packed, about 4 inches. Clay and rocks with the consistency of concrete, about 4 feet. This ground did not give way in the slightest during the whole endeavor! It was the single most difficult hole I've ever dug. I had to dig it out in sections over the course of several months, wheelbarrow loads at a time. Digging in sections made it easier to get larger chunks of clay broken free. I made stairs out of the dirt so that I could get to the bottom. The goal was to either reach a depth of four feet, or strike gold so that I could pay someone to do all this digging for me.
Eventually I made it to a depth of about 54 inches from the bottom of the hole to the underside of the deck. This would have to do since I had lost all hope of striking gold, oil or finding a buried pirate chest. The hole would fill up with water every time it rained, causing me to have to bail out the water with a bucket and dump it over the side, which created a stream into the park next door. Sometimes the water would be as deep as 18 inches, giving rise to jokes from my wife about the swimming pool, hot tub or Koi fish pond I was digging in the backyard. Liam also found time to fall into the water once or twice while showing the hole off to the neighbor kids.
 |
| It took two days to clean all the horse poo off the wood |
 |
| The results were excellent! |
The quantity of 4x4 posts that I got gave me an idea on how to construct the underground bunker. I decided to simply stack the 4x4's on all four sides and create a box, and use the 2x6's as the flooring. It would be solid and because they were treated lumber, rot and leak proof! Well, as it turns out, just rot resistant and not leak proof. I still had to deal with the water issue, since my hole was still filling up with water even in just a light rain.
 |
| I got lazy and didn't remove all the dirt, I just dug channels |
 |
| Built with love for Liam, Eric & Henry May 9, 2013 By the "Amos School of Construction" |
 |
| Blue Rust-Oleum paint to help stop rot |
 |
| Sump pump access hatch included. Forgot handle. |
I painted the underside of all the boards and the bottom support beams with a bright blue bucket of Rust-Oleum product on clearance from Lowes that was supposed to be used to restore decks by filling in all the cracks with some type of rubberized paint. Not exactly water proof or lumber treatment, but I figured that the beams are already treated lumber so it'll be fine... maybe. I finished laying down a deck and installed an access hatch for the sump pump in case I ever needed to get at it. This shows an unusual level of foresight, possibly learned from many years experience with the Amos School of Construction. I would be needing to access the sump pump numerous times in the coming months.
 |
| It's questionable whether the tarp actually does anything, but at least it was really annoying to work around! |
At this point the bunker began to take shape relatively quickly as it was simply a matter of cutting the beams to size with a skill saw and screw them into place, staggered so that they interlocked at the corners. I used 3 1/2 deck screws and about 12 bottles of bright white caulk in between each beam to help stop water leaks. It's probably ok. I also bought a 22' by 14' heavy tarp from Costco, cut it in half and wrapped it all the way around the platform and tucked it under the first layer of 4x4 beams. The thought was that any water that got next to the bunker would be deflected by the tarp down underneath the structure where it would be channeled to the 5 gallon bucket and ejected via the sump pump.
 |
| Eric tries out the bunker for the first time. I also realize that the bunker isn't going to be as big as I initially pictured. |
Soon I have used up most of my 4x4 posts and I have caulked all the cracks and lines and seams as best I could. I realize a few things. First, I'm going to need more free wood. Second, the bunker is not as big as I would have liked. Third, I need a ladder, because climbing in and out of this thing has given me terrible muscle and back pain. It's around this time that I start to visit Dr. Momyer to have my spine readjusted a couple times a week.
 |
| Beneath the deck |
 |
| Above the deck |
 |
| Liam wanted to put it back together as is |
 |
| Reusable hardware and monkey bars that I turned into a ladder |
On the way home with the trailer full of our latest scavenged materials, I also stopped on the side of the road and picked up a 10 foot corrugated flexible drainage pipe that had flown off someone else's vehicle and landed on the shoulder, and later stopped at a sign that had fallen down years earlier but two great big 2x6x10 posts where still attached. The sign was gone and the posts where laying on the ground. I figured no one wanted them and I was doing the world a favor by removing them. It looked like litter to me. Unfortunately, as I was getting back on the road I had to do a U-turn to get going in the right direction. This was a problem for the 16' beams sticking out the back of my u-haul trailer, so they punished me by pressing a nice deep dent into my tailgate. Yay! The wife will be pleased when she sees this.

 With my newly gathered wood I start construction on the upper structure. I still don't know what it's going to look like, but I assume I'll need an enclosure for the access hatch and a platform for the upper level. I build a box around the opening, including a side access door. I figure that if there's only one entrance into the bunker, inevitably I will have one child in the bunker and another sitting on the access hatch giggling while his trapped sibling screams at him. I build a small step ladder to the platform above the access hatch, and if you look close you can see a ladder that I built from the monkey bars of the scavenged play structure from before. I replaced the old rotting wooden rungs with cut sections of a 14' aluminum pipe that I found underneath the deck.
With the floor in place, things really start to pick up, as does the cost. From this point on I start to use mostly purchased materials rather than scavenged Craigslist material. The four walls go up pretty straight and much taller than I thought it would. Initially I was thinking that I would fit it in under the big overhead trellis, but after seeing how much head clearance there would be, I decided to go bigger and I cut away the overhead beams to make more room. This was a precarious moment for me, for at this point I feared for my life as it was only a matter of time now before my wife noticed what was happening to her trellis, something she specifically told me not to mess with. Yikes!


 Things really start to get interesting when, during a trip to Vashon Island to pick Liam up from summer camp at Camp Burton, I stumble upon a clearance sale of unfinished cedar siding. We drove passed a lumber yard and a big handwritten sign says Cedar siding, 15 cents a foot. WHAT! I pulled in and went over to the office to inquire. I had no idea how much siding I needed, or even what the overall dimensions of my finished house was going to be or how to calculate it. I guessed that my playhouse was about 9' by 6' and about 8' high. I made an estimate that I needed to cover 240 square feet. I had no idea how to cover that with the 5" wide cedar siding though. Fortunately the lumber guys know exactly what to do and they told me I needed 600 linear feet, and the total comes to 90 bucks. Yep, 90 bucks! SCORE! I strapped the siding to the roof of my car and we headed home. I had to stain and seal the unfinished cedar, but in the end it was totally worth it. I had beautiful cedar siding vs crummy looking t-111 siding that just looks like a manufactured home or a fancy dog house.
A few final touches were needed of course. I rolled on some composite roll-on roofing and built a dutch door for the door way. It's the kind that you can open the top without opening the bottom. I also installed a handrail with a fancy rail setup so that we can paint a sign on the front. Then, as a finishing touch, I installed the slide that came with the salvaged fort we picked up a few weeks earlier. Awesome!


 As way of celebrating, Liam and Eric and I all spent the night in the underground bunker near the end of summer. Well, Liam and I did, but Eric gave up a couple hours in and made such a fuss that mommy had to come get him and put him to bed in his own bed. Nevertheless, our playhouse was livable, even if it didn't have power yet.
Since then I've installed an outlet and an 18 foot LED rope light in the bunker and plan to install outlets and power in the upper section. I also installed some awful colored shutters that immediately expanded in the openings and now refuse to open at all. Also I installed a loft inside the main playhouse and plan to install a ladder and a fixed desk inside with some nice little chairs. There's also a number of small touches that I need to install, such as the mailbox, the house number, 2023 1/2, and also the doorbell
Still lots to do, but overall the project is well over 80% complete and the kids get to play in it whenever they want. Eric loves going down the slide, and Liam shows it off to his friends and anyone new that comes over he can't wait to give the grand tour. Next spring I'm going to remove the shutters and build better ones that open and have plexi-glass. I'll fix the door to have a knob and a lock, and I'll finish getting power to the upstairs. Maybe I'll even install a porch light, who knows?
With my newly gathered wood I start construction on the upper structure. I still don't know what it's going to look like, but I assume I'll need an enclosure for the access hatch and a platform for the upper level. I build a box around the opening, including a side access door. I figure that if there's only one entrance into the bunker, inevitably I will have one child in the bunker and another sitting on the access hatch giggling while his trapped sibling screams at him. I build a small step ladder to the platform above the access hatch, and if you look close you can see a ladder that I built from the monkey bars of the scavenged play structure from before. I replaced the old rotting wooden rungs with cut sections of a 14' aluminum pipe that I found underneath the deck.With the floor in place, things really start to pick up, as does the cost. From this point on I start to use mostly purchased materials rather than scavenged Craigslist material. The four walls go up pretty straight and much taller than I thought it would. Initially I was thinking that I would fit it in under the big overhead trellis, but after seeing how much head clearance there would be, I decided to go bigger and I cut away the overhead beams to make more room. This was a precarious moment for me, for at this point I feared for my life as it was only a matter of time now before my wife noticed what was happening to her trellis, something she specifically told me not to mess with. Yikes!
Things really start to get interesting when, during a trip to Vashon Island to pick Liam up from summer camp at Camp Burton, I stumble upon a clearance sale of unfinished cedar siding. We drove passed a lumber yard and a big handwritten sign says Cedar siding, 15 cents a foot. WHAT! I pulled in and went over to the office to inquire. I had no idea how much siding I needed, or even what the overall dimensions of my finished house was going to be or how to calculate it. I guessed that my playhouse was about 9' by 6' and about 8' high. I made an estimate that I needed to cover 240 square feet. I had no idea how to cover that with the 5" wide cedar siding though. Fortunately the lumber guys know exactly what to do and they told me I needed 600 linear feet, and the total comes to 90 bucks. Yep, 90 bucks! SCORE! I strapped the siding to the roof of my car and we headed home. I had to stain and seal the unfinished cedar, but in the end it was totally worth it. I had beautiful cedar siding vs crummy looking t-111 siding that just looks like a manufactured home or a fancy dog house.A few final touches were needed of course. I rolled on some composite roll-on roofing and built a dutch door for the door way. It's the kind that you can open the top without opening the bottom. I also installed a handrail with a fancy rail setup so that we can paint a sign on the front. Then, as a finishing touch, I installed the slide that came with the salvaged fort we picked up a few weeks earlier. Awesome!
Since then I've installed an outlet and an 18 foot LED rope light in the bunker and plan to install outlets and power in the upper section. I also installed some awful colored shutters that immediately expanded in the openings and now refuse to open at all. Also I installed a loft inside the main playhouse and plan to install a ladder and a fixed desk inside with some nice little chairs. There's also a number of small touches that I need to install, such as the mailbox, the house number, 2023 1/2, and also the doorbell
 |
| "The Laurelside Inn" |
Still lots to do, but overall the project is well over 80% complete and the kids get to play in it whenever they want. Eric loves going down the slide, and Liam shows it off to his friends and anyone new that comes over he can't wait to give the grand tour. Next spring I'm going to remove the shutters and build better ones that open and have plexi-glass. I'll fix the door to have a knob and a lock, and I'll finish getting power to the upstairs. Maybe I'll even install a porch light, who knows?
Brought to you by "The Amos School of Construction"
No comments:
Post a Comment